An outdoor concrete stain is one of the most effective ways to enhance the appearance and durability of concrete surfaces. Whether refreshing an old patio, decorating a driveway, or adding character to a garden walkway, staining brings color and personality to otherwise plain concrete. But how long does the staining process take, and what should you expect at each stage? Understanding the timeline for applying an outdoor concrete stain is crucial for proper planning and achieving professional results.
Planning for Outdoor Concrete Stain Projects
Planning is essential for the success of any outdoor concrete staining project. Staining is not a single-step process; it involves cleaning, staining, sealing, and allowing adequate time for curing. Rushing through these stages can lead to subpar results, such as uneven coloring, peeling, or reduced durability. By allocating time and attention to each step, you can ensure the finished product is visually appealing and long-lasting.
Outdoor Concrete Stain Preparation
Proper preparation sets the foundation for a successful concrete staining project. This phase typically takes one to three days, depending on the condition of the concrete and the extent of cleaning or repairs required. Thorough preparation ensures better stain adhesion and also prevents long-term issues like peeling or uneven coloring. Investing time in this stage guarantees a professional and durable result.
Inspecting the Surface
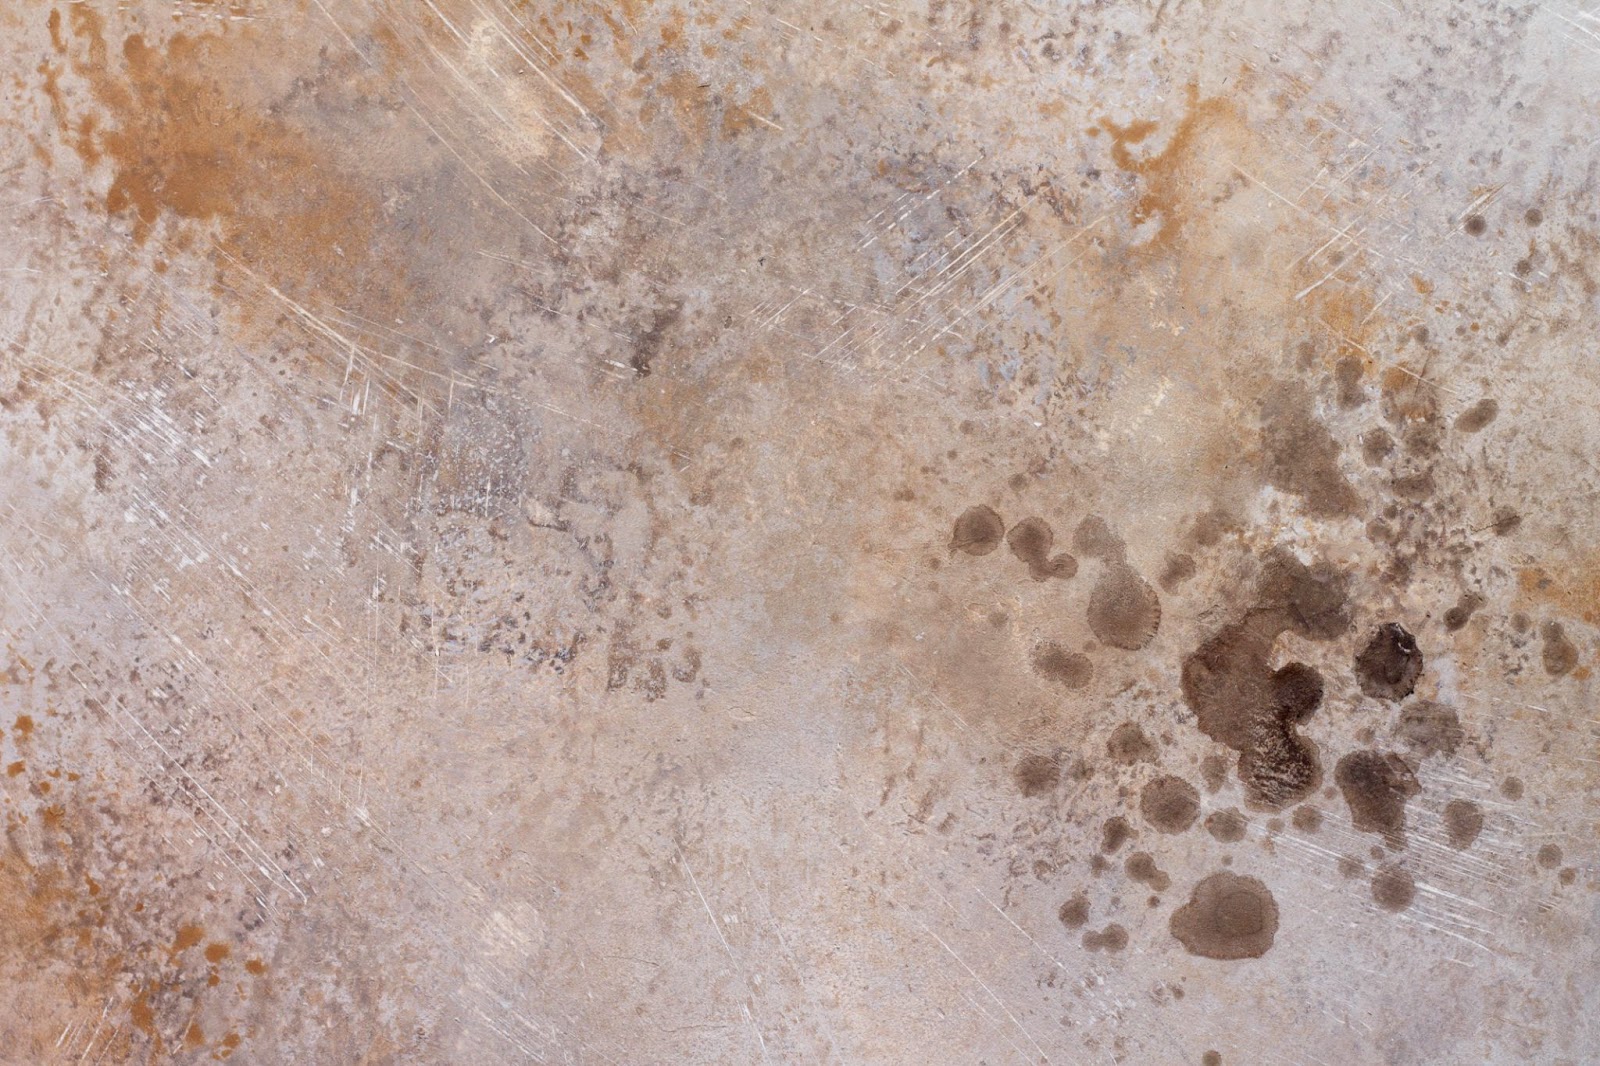
The first step in preparation is assessing the condition of the concrete. Look for cracks, chips, or stains that could affect the final result. Cracks should be filled with a concrete repair product, and any stubborn stains must be removed to ensure the new stain adheres evenly.
Cleaning the Concrete
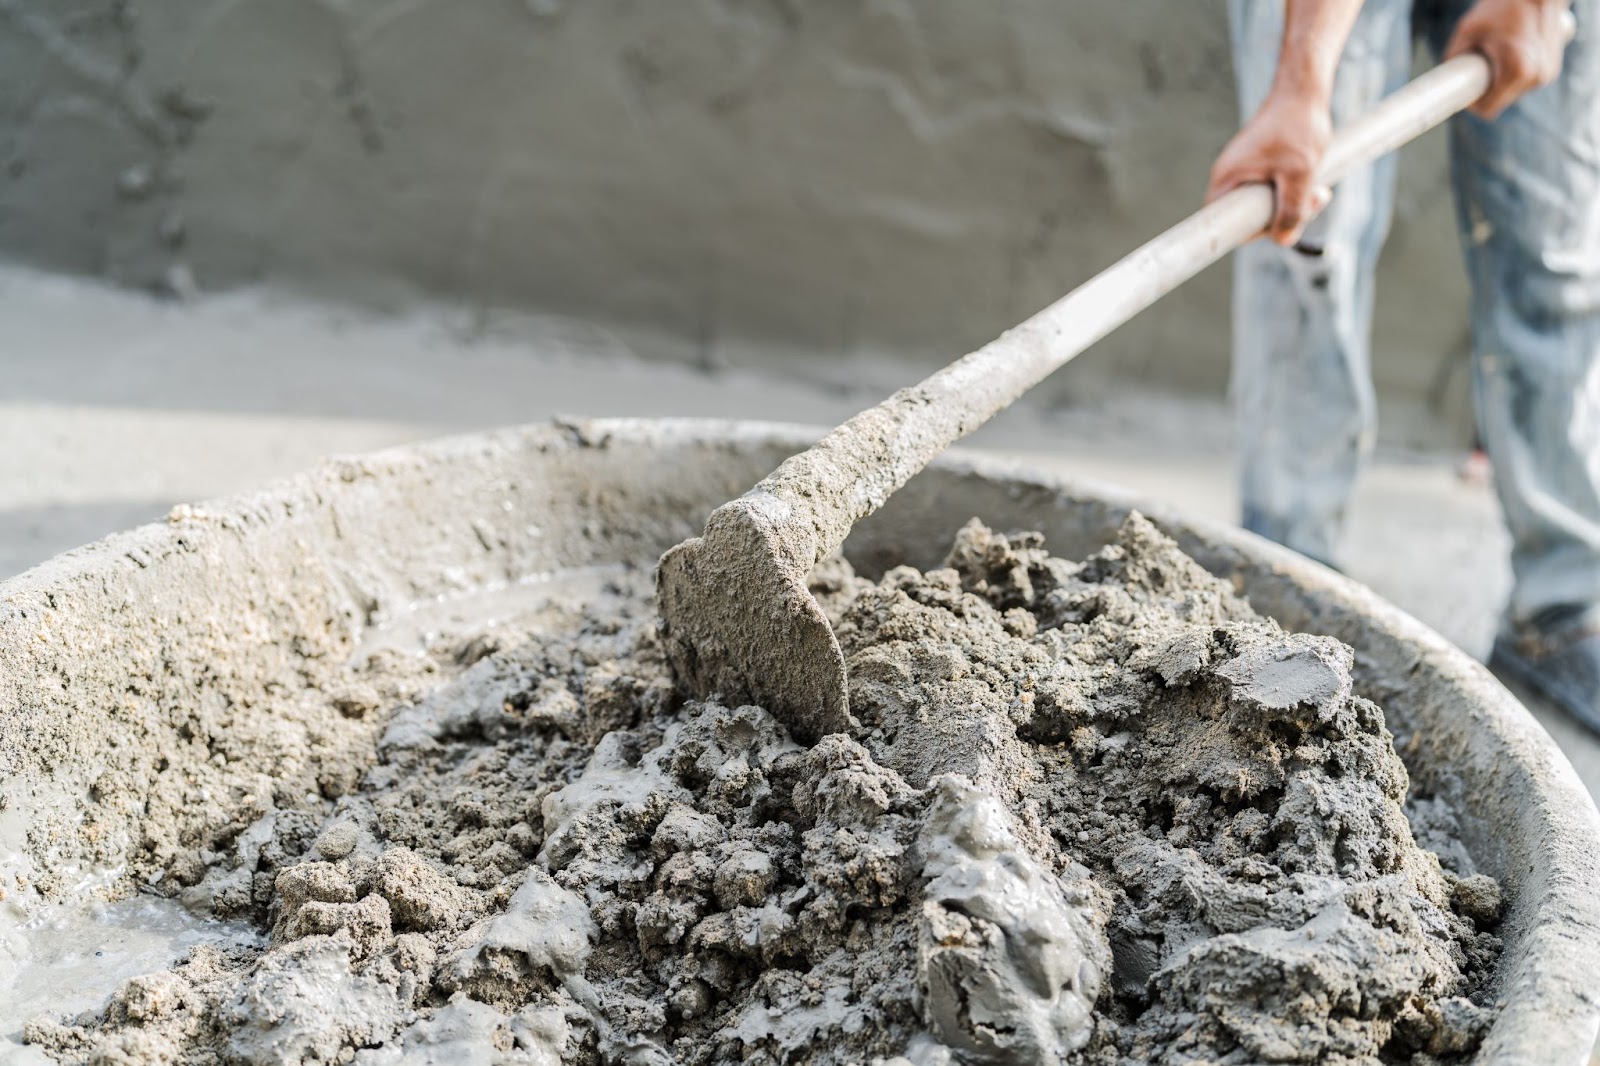
Thorough cleaning is essential to remove dirt, grease, and debris. Use a pressure washer or a heavy-duty concrete cleaner to scrub the surface. Consider applying a degreaser or other specialized cleaning agents for heavily stained areas. Proper cleaning ensures the stain penetrates the concrete uniformly.
Drying the Concrete
Once cleaned, the concrete needs to dry completely. This step can take 24 to 48 hours, depending on weather conditions. Applying stain to damp concrete can result in blotchy or inconsistent coloring. Ensuring complete dryness allows the stain to penetrate evenly and adhere properly, creating a more vibrant and uniform appearance.
Applying the Outdoor Concrete Stain
The application phase marks the start of the transformation. This step typically takes a day but requires precision and care for the best results:
Choosing the Right Stain
Outdoor concrete stains come in two main types: acid-based and water-based. Acid-based stains react chemically with the minerals in the concrete to create a variegated, natural look. These stains often take longer to apply and require more expertise. On the other hand, water-based stains are easier to use and come in a broader range of colors, making them ideal for DIY projects.
Preparing the Area
Before applying the stain, protect the surrounding surface. Use painter’s tape to mask off walls, plants, and nearby fixtures. This step prevents accidental staining and ensures a cleaner overall appearance.
Applying the Stain
The stain can be applied using a sprayer, roller, or brush. Start at one end of the surface and work methodically to cover the entire area. For acid-based stains, allow the product to sit and react with the concrete for the time specified by the manufacturer. Water-based stains generally require less time to set, but carefully following the instructions is still important.
Neutralizing Acid-Based Outdoor Concrete Stains
If you’ve opted for an acid-based stain, neutralization is a critical step that prepares the surface for sealing. This phase takes about a day to complete.
Neutralizing the Surface
You need to neutralize the surface to stop the chemical reaction caused by acid-based stains.. Mix a solution of water and baking soda or ammonia and apply it evenly. Use a soft-bristle brush to scrub the surface gently, ensuring the acid is fully neutralized. Afterward, rinse the area thoroughly with clean water.
Allowing the Surface to Dry
After neutralization, the concrete must dry again before sealing. This drying period typically lasts 24 hours but can vary depending on humidity and temperature.
Sealing the Stained Concrete
Sealing is a crucial step that protects the stained surface and enhances its appearance. This stage generally takes one day.
Selecting the Sealer
There are two primary types of sealers to choose from: penetrating and film-forming. Penetrating sealers soak into the concrete and provide long-lasting protection without altering its natural appearance.On the other hand, film-forming sealers create a glossy or satin finish and are often used for decorative purposes.
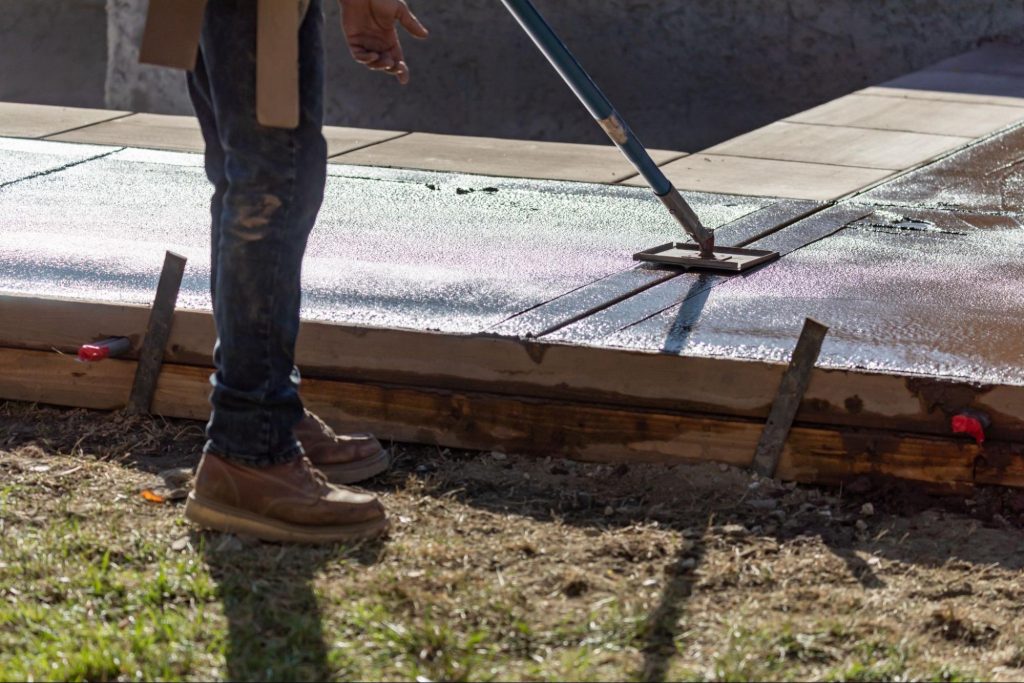
Applying the Sealer
The sealer can be applied using a sprayer or roller. Work systematically to ensure even coverage and avoid applying too much product, which can lead to bubbling or cloudiness. Follow the manufacturer’s instructions for drying times and application techniques.
Outdoor Concrete Stain Curing and Final Touches
The curing phase allows the stain and sealer to bond with the concrete, ensuring durability and longevity. This stage can take anywhere from two to five days. During this time,avoiding heavy foot traffic or placing any objects on the surface is crucial to prevent disruptions in the curing process. Proper curing ensures that the concrete achieves its maximum strength and a flawless finish.
Allowing the Concrete to Cure
It’s essential to let the concrete cure properly before using it heavily. While light foot traffic is generally acceptable after 48 hours, you should wait up to five days before placing furniture or other heavy objects on the surface.
Inspecting the Finished Surface
Once the curing is complete, inspect the stained concrete for any inconsistencies or areas needing touch-ups. If necessary, reapply the stain or sealer to achieve a uniform finish.
Factors That Influence the Outdoor Concrete Stain Timeline
Several factors can affect how long it takes to complete an outdoor concrete staining project. Understanding these variables can help you plan more effectively.
Weather Conditions
Weather plays a significant role in the staining process. High humidity, rain, or low temperatures can extend drying and curing times. For best results, schedule your project during mild, dry weather.
Condition of the Concrete
Older or heavily stained concrete may require additional cleaning or repair work, which can lengthen the preparation phase. Ensuring the surface is in good condition is crucial for achieving the best results.
Type of Stain and Sealer
The type of products you choose can also impact the timeline. Acid-based stains and film-forming sealers typically take longer to apply and cure compared to water-based stains and penetrating sealers.
Size of the Project
Larger areas naturally take more time to prepare, stain, and seal. Be sure to allocate extra time if you’re working on a sizable surface like a driveway or patio. Breaking the project into sections can help manage the workload and ensure consistent application. Additionally, having an extra pair of hands can speed up the process while maintaining quality results.
Tips for a Successful Outdoor Concrete Stain
Successfully staining outdoor concrete requires careful attention to detail and adherence to best practices. Properly preparing the surface, using the right products, and following manufacturer guidelines can achieve a stunning and durable finish that lasts years.
Planning Ahead
Proper planning is key to a successful project. Allocate sufficient time for each stage and consider potential delays caused by weather or drying conditions. Being realistic about the timeline can prevent rushed work and ensure a better outcome.
Testing the Stain
Always test the stain on a small, inconspicuous area before applying it to the entire surface. This step allows you to verify the color and ensure compatibility with the concrete. Testing also provides an opportunity to practice your application technique, ensuring a smoother and more consistent finish during the full application.
Following Manufacturer Guidelines
Adhering to the manufacturer’s instructions for application and drying times is crucial. Each product is different, and following the recommended guidelines ensures optimal results.
Maintaining the Surface
To extend the life of your stained concrete, clean it regularly and reseal it as needed. Proper maintenance keeps the surface looking vibrant and protects it from wear and tear.
A Timeline That Rewards Patience
Applying an outdoor concrete stain is a multi-step process that requires careful planning and attention to detail. Each stage is essential for achieving a beautiful and durable finish, from preparation and application to sealing and curing. While the process may span several days, the results are well worth the effort. Following this timeline and adhering to best practices, you can transform plain concrete into a stunning feature that enhances your outdoor spaces for years to come.
To learn more, visit our C&H Asphalt blog today.